Pond preparation
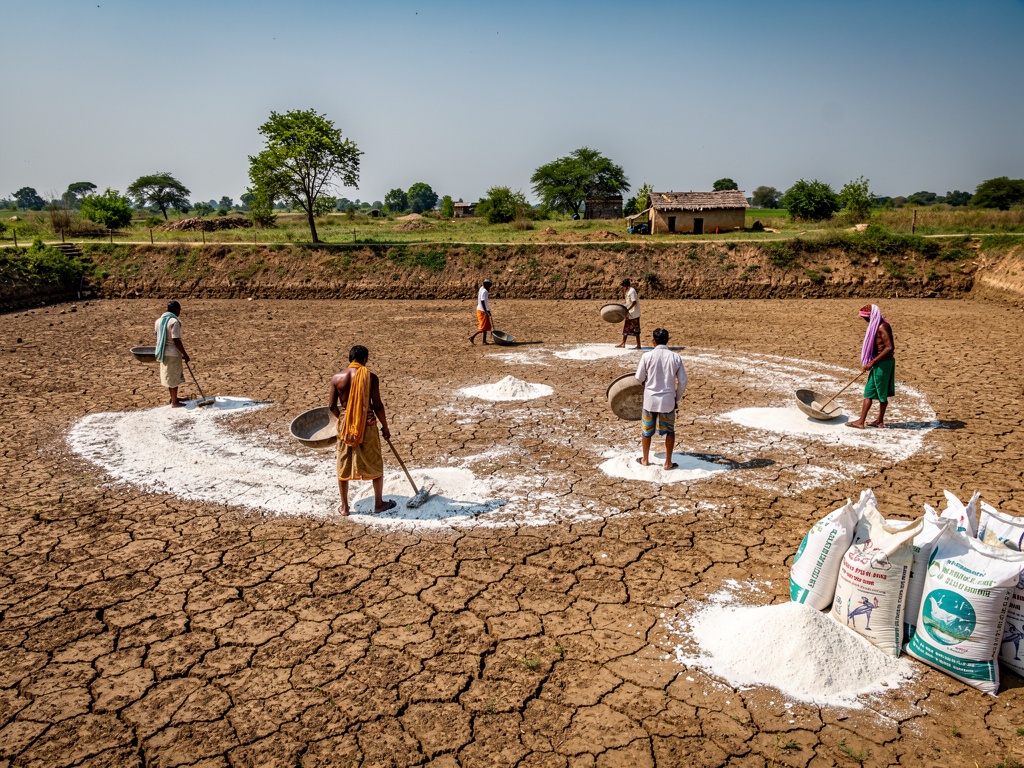
Preparation between crops is the cheapest insurance you can buy. A clean, dry pond bottom breaks the disease cycle and gives the next crop a healthy start.
- Drain and dry the pond bottom until it cracks (2–3 weeks)
- Remove sludge and repair dykes and screens
- Apply lime based on soil test (agricultural lime / dolomite as recommended)
- Fertilise to build a plankton bloom, then fill with filtered water
- Confirm water quality is stable before stocking
Biosecurity
Biosecurity keeps disease out and stops it spreading. It is a set of habits, not a one-time setup.
- Fence the farm; net ponds against birds.
- Reservoir and treat incoming water before it reaches ponds.
- Use dedicated implements; disinfect nets, boots and hands.
- Keep one pond's water out of another's — no shared tools or water.
- Treat effluent through the ETS before release.
Seed selection and stocking
Only tested, certified seed from CAA-authorized hatcheries. Acclimatise the PL slowly to pond temperature and salinity before release.
- Check certification papers and batch test results.
- Stock early morning or late evening to avoid heat stress.
- Use the correct density (commonly up to 60 PL/m² for earthen ponds — verify the current CAA rule).
- Never mix seed from different sources in one pond.
Plan your seed numbers with the stocking density calculator.
Feeding and FCR
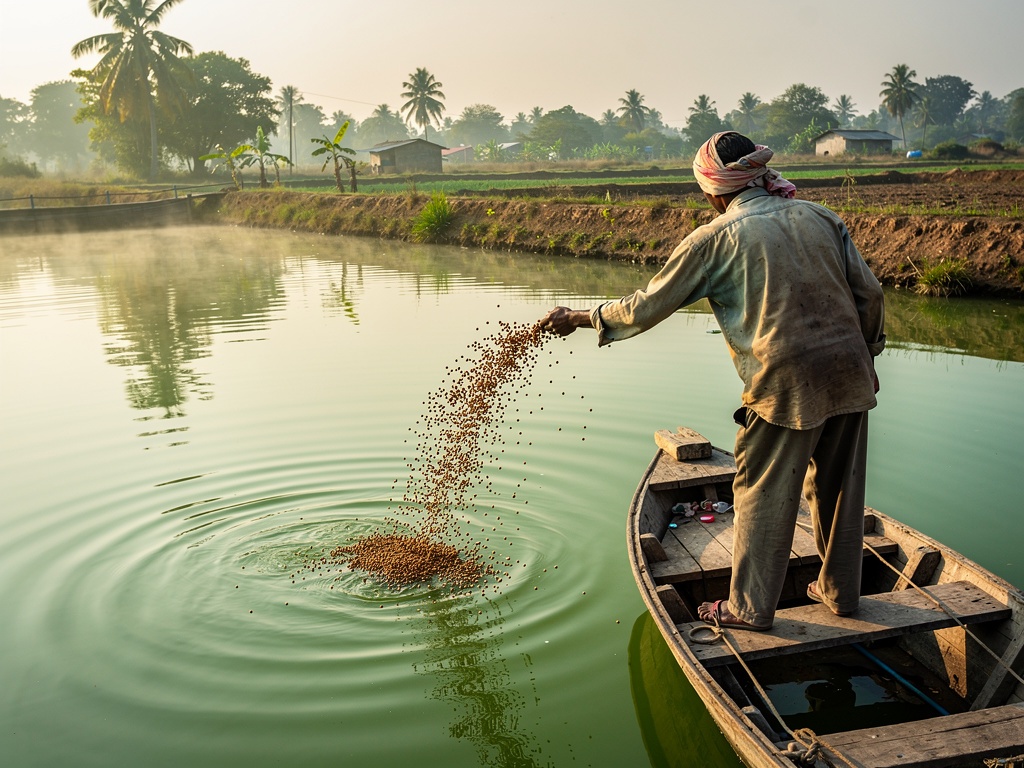
Feed is the largest variable cost. Feed on trays, adjust for appetite, moulting and weather, and track FCR weekly.
| Species | Typical FCR | Harvest size |
|---|---|---|
| Vannamei | 1.2–1.6 | 20–35 g |
| Black tiger | 1.5–2.0 | 30–50 g+ |
| Scampi | 1.8–2.5 | 30–80 g |
Aeration
Dissolved oxygen is the life of the pond. Paddlewheel aerators keep oxygen up and circulate water so waste settles in the centre. Run aerators continuously in warm weather and always at dawn, when oxygen is lowest.
- Size aeration to pond area and stocking density.
- Keep backup aerators and a generator or fuel for power cuts.
- Watch for aerator failure — oxygen can crash within hours.
Water quality
Test daily and record. DO, pH, temperature, salinity and ammonia are the essentials; alkalinity and minerals matter too. See the full water quality guide with ideal ranges and a daily routine.
Disease recognition
Early detection saves a crop or stops a loss. The main threats are WSSV, EHP and Vibrio. See the disease guide for symptoms, photos and what to do / what not to do. Never use banned antibiotics or unapproved chemicals.
Harvest and post-harvest
Harvest cleanly and keep quality high — that is what the market pays for.
Pre-harvest checks
Confirm size, health and residue status; for EU export, complete pre-harvest testing (PHT).
Partial or full harvest
Drain gradually, net carefully to avoid stress and damage.
Ice immediately
Chill shrimp fast to 0–4 °C; quality drops fast without ice.
Grade and pack
Sort by size, pack in clean crates with ice, and transport quickly.
Sell through your channel
Export, processor, local market or domestic chain — see economics.
Dive deeper
Water quality tables, disease recognition and the daily monitoring routine.
Water quality guide Disease guide